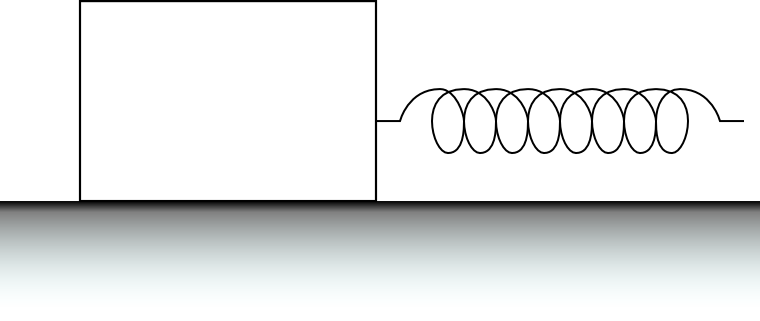
How to draw a spring in Inkscape
Update: Check out the new spring drawing method here. The old one on this page is still useful, but the new one is a bit faster.
I’ve been working on some free-body diagrams lately, and in my last paper I needed to draw a spring. Since I didn’t find any simple way to do this, I thought I should give a quick tutorial here.
First of all, turn on the grid by clicking SHIFT + 3 on your keyboard (the # key).
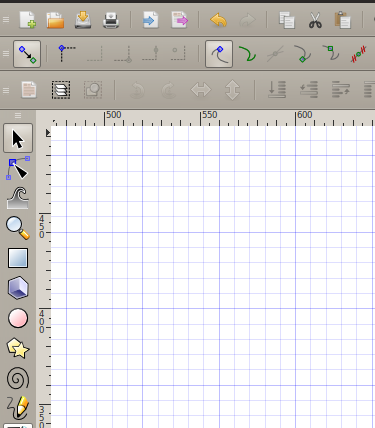 When your grid is
turned on, enable the bezier curve editor by clicking this button:
 Now, draw a shape
similar to this. I’ve enabled the grid so you may see the distance
between the points:
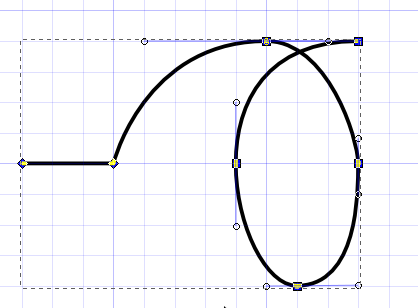 If you’re having
trouble with the handles you may want to enable cornered points by
clicking this button:
 Next, you should make a
copy of your newly drawn curve and open this for editing (double click
on it).
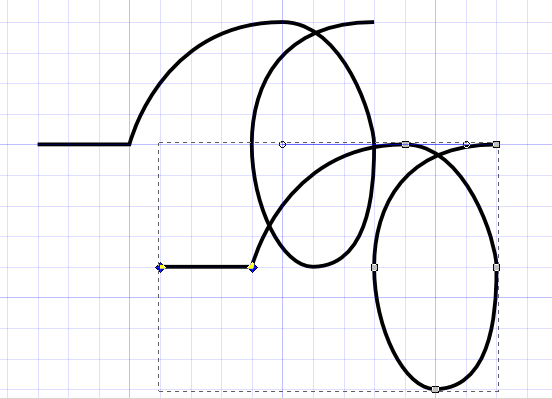 Select the two
leftmost points (as shown above) and delete these. Then move the new
shape next to the other.
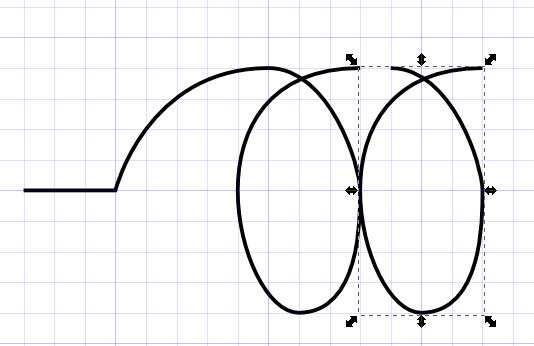 As you see, in my
drawing the shapes don’t really fit. We’ll fix this by editing the
second
curve.
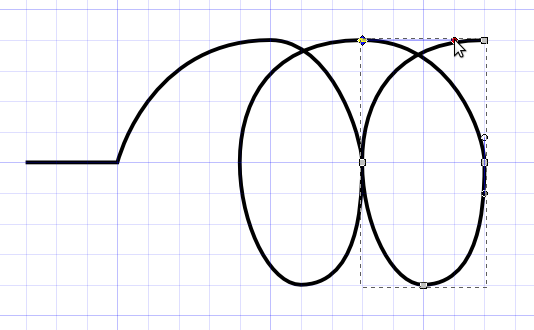
Now we’re soon done. All we need to do now is to exit editing mode by clicking the arrow tool:

Then select the second curve and copy + paste it as many times as you like:

Copy+paste the first shape and flip it
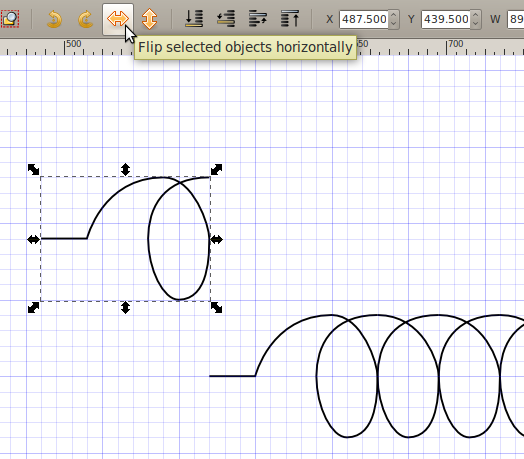
Now, move this to the end of the spring:

I did some final editing on the last part, but all in all you should be finished now! If you want to reuse this string, save it in a folder and import it when you need it or use it right away in your new diagram. Or just download the source here: Spring model.
